
Here's a question I get a lot: "Hey Riz, I cooked your recipe, and it tastes delicious! But it doesn't look as good as yours. How do you get the food to look pretty?"
It's a valid question. Styling and plating your food is almost an art form separate to the process of cooking it.
Is it necessary to go out of your way to make food look beautiful? No. But is it a nice touch? Yup.
In this post, we're going to talk about why (and when!) it's important to plate your food, and then walk through the basics of how to do it well.
As a little bonus, we'll touch briefly on the absolute basics of how to photograph your food well. (Because if you made a pretty plate, and didn't take a photo of it…did it even really happen?)

Jump to:
Why you should style your food
Instagram. You should be styling your food for Instagram. The end.
Okay, I'm kidding. Mostly…if you're an Instagram foodie, or if you run a recipe website (like, Chocolates & Chai!), then it's crucial to style your food. Beautiful looking food = perceived deliciousness of said food. But if what if your food isn't being showcased on the internet?
Well, there are still some occasions when you may want to bring out your plating A-game - you might be hosting a dinner party, or cooking dinner for someone special (*wink wink*), or maybe you just want to take your creativity in the kitchen to another level.
That said, if you don't feel the need to go out of your way to beautify your plate, that's totally cool. If you don't have the time to spend styling your food, that's also okay. What's most important is that you enjoy cooking your meals and eating them too!
Mastery before magic-ry.
Okay, bestie. First things first. And I say this with love. I don't want to say it. But I'm going to say it because I want to be completely honest with you. Before you start making beautiful plates of food, you need to be good (or at the very least, comfortable) at cooking the food.
That is, you need some level of mastery of a dish before you can start working your magic-ry on it. If you’re still working on the basics of preparing food, then that’s where you should focus your energy. Once you’re comfortable cooking, then move on to styling and plating your food.
Don't let this discourage you. You don't need to be a master chef before learning how to plate your food with style, but you do need to have a solid grasp of how to prepare that food so that it can be plated.
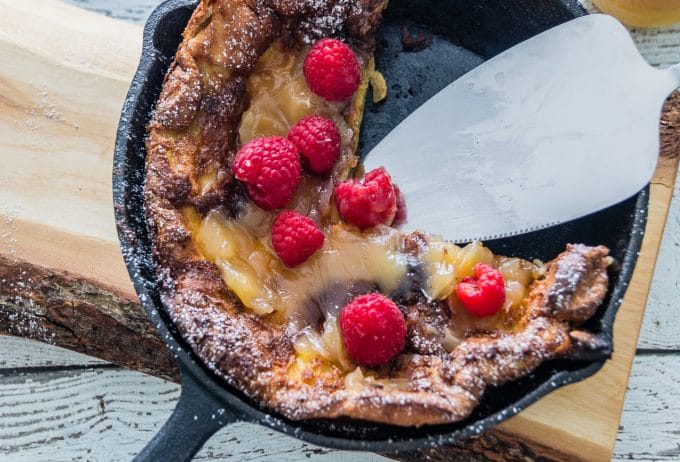
For example, roasting your food properly creates warm golden tones (caramelisation, bestie!), however overdo it, and those wonderfully warm tones become dark, dull, and burnt (not caramelisation, bestie).
If you're brand new to cooking, you can get started by learning how to read a recipe properly
Understand your ingredients
You don't have to be super fancy. My plating style is actually quite simple. I go for a somewhat rustic "achievable" look (as opposed to a super fancy gourmet style!) - I think of it as a realistic depiction of what you, or anyone, could achieve just by following the recipe (on a good day, of course). I use relatively few garnishes, and very rarely step away from the basics of the recipe I'm presenting.
However, there are some things I need to keep in mind even with the simple styling I use: colour, texture, and height.
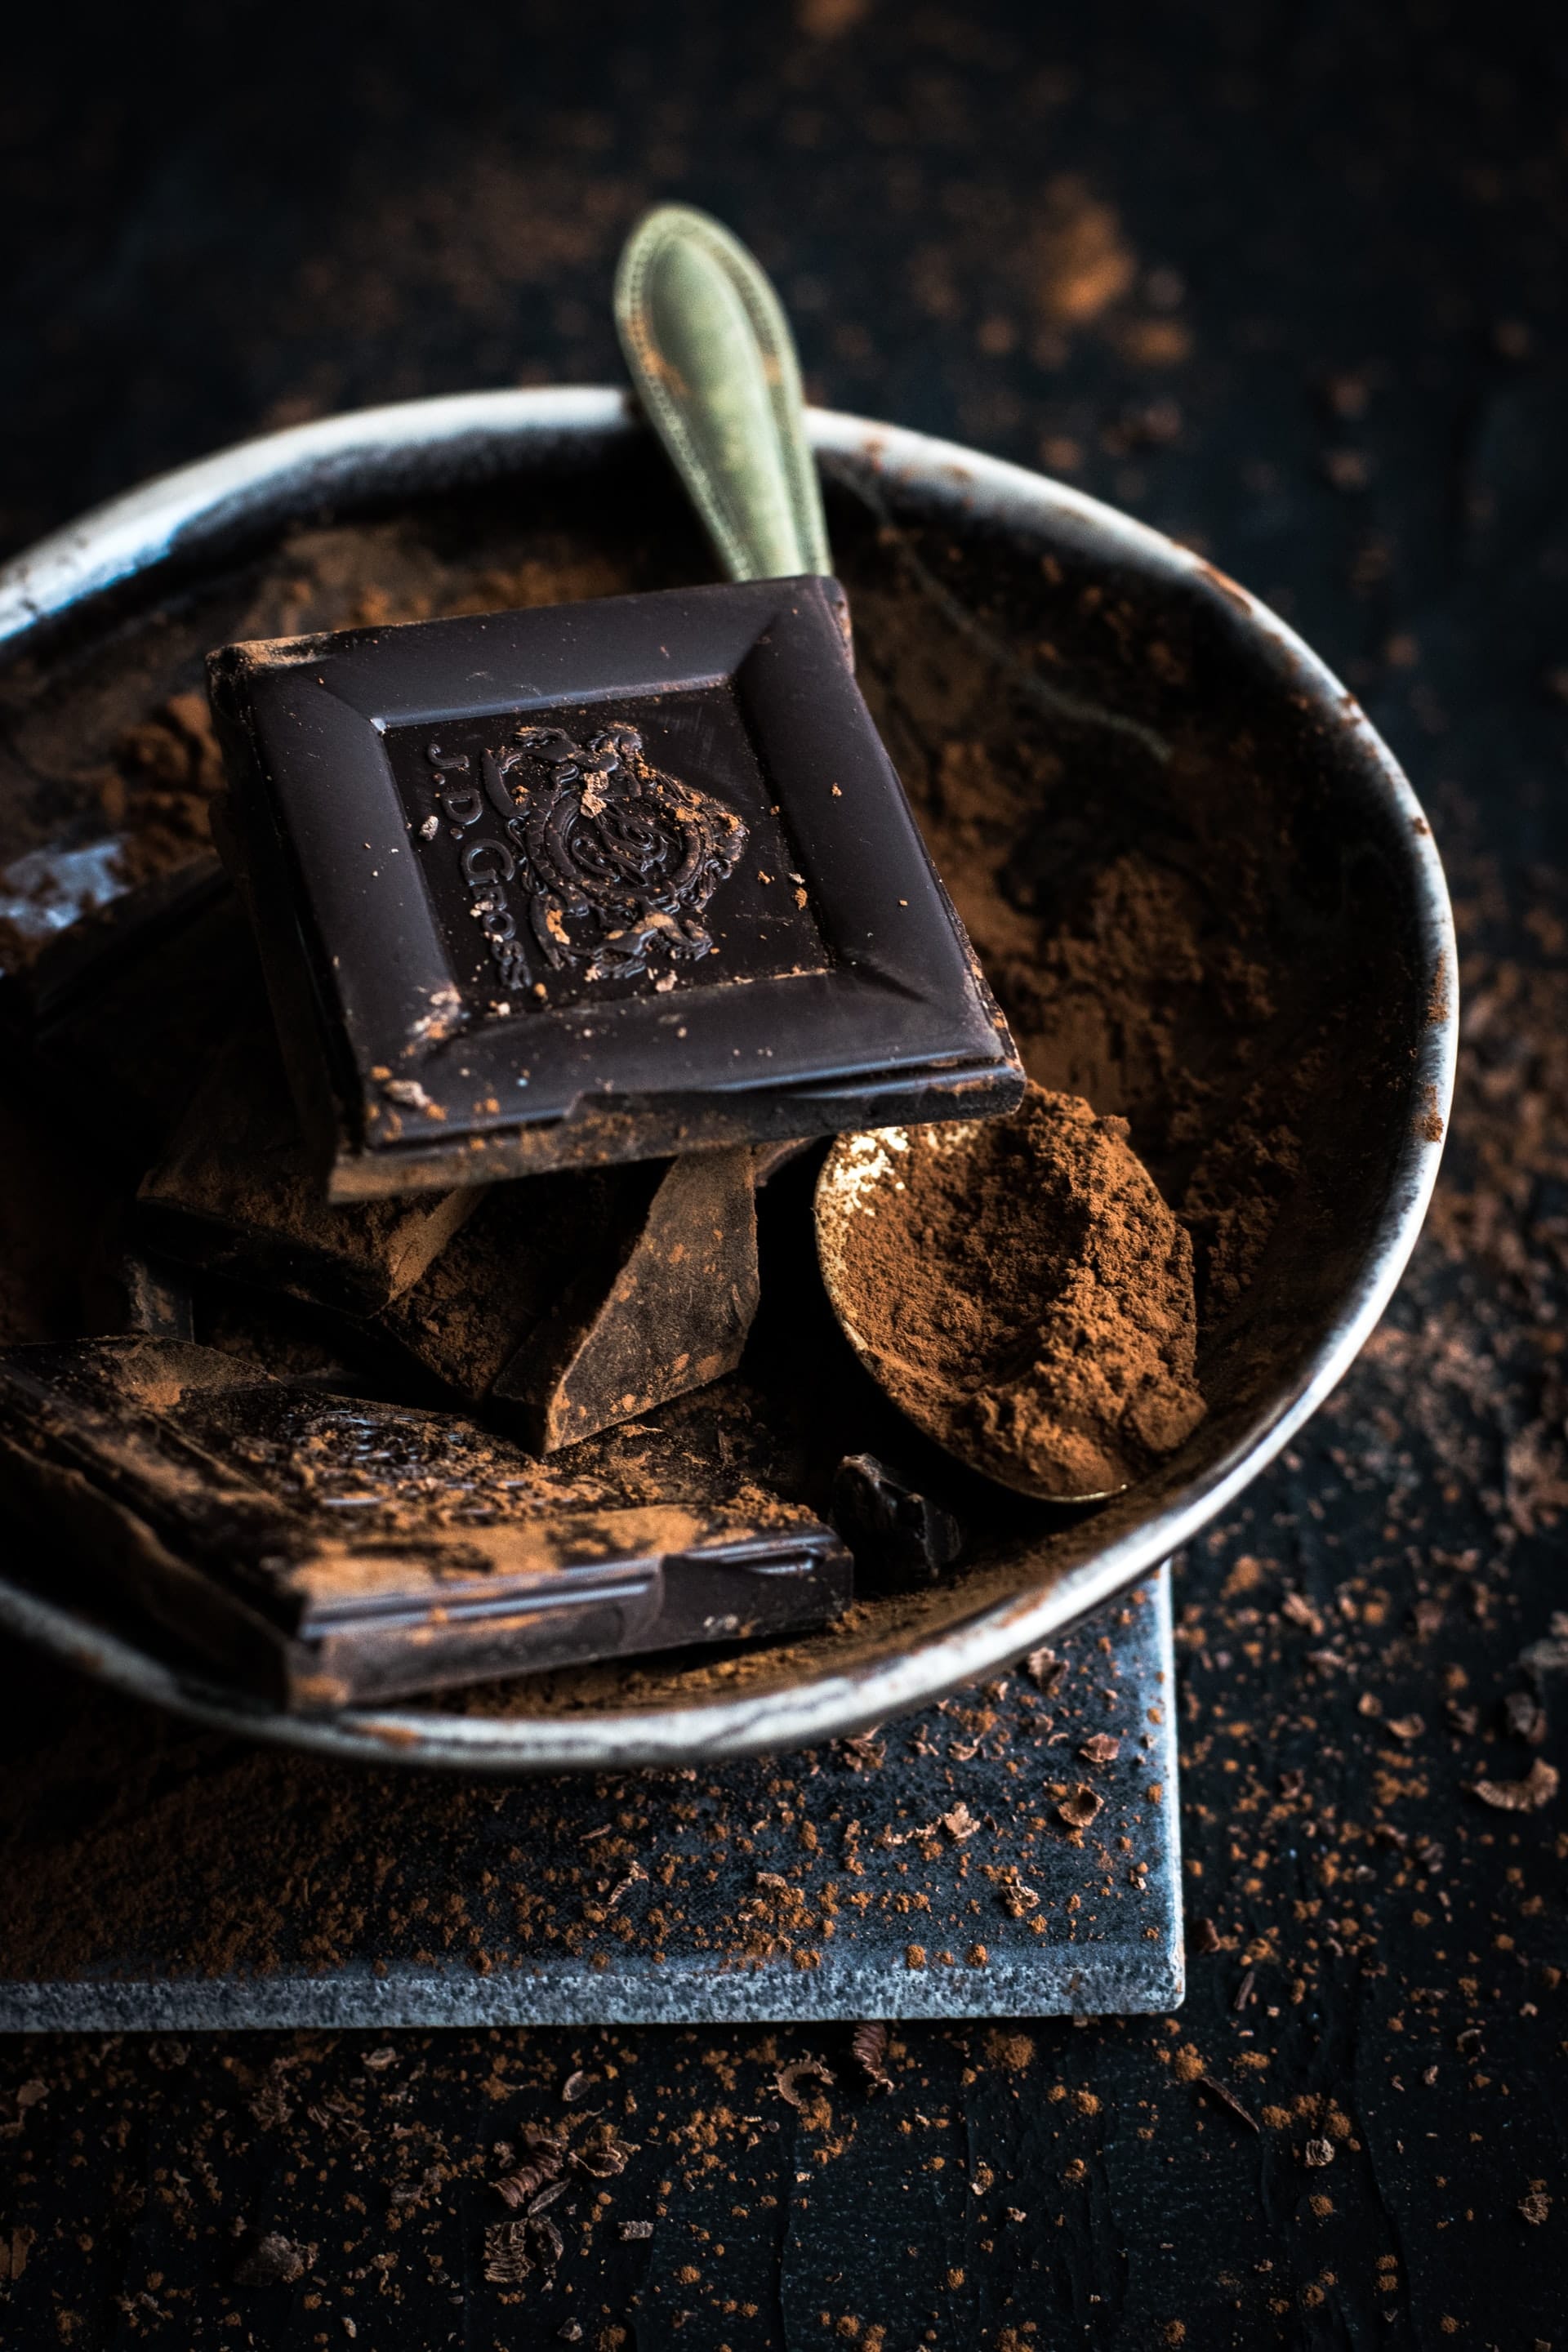
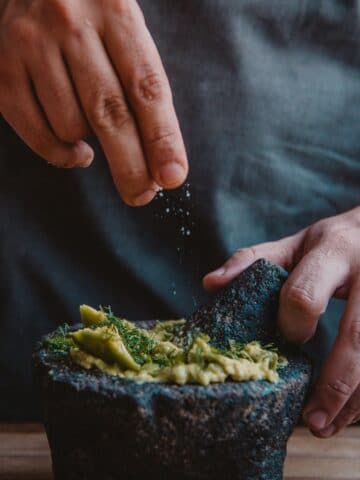
Colour
Use contrasting or complimentary colours to get across the feel of your dish. If you're looking for something bright and vibrant, make sure to have a colour or two that really stand apart from the rest of the dish. If you're looking for something more on the moody and rustic side, you'll likely want to avoid having any colours detract from the others.
I like using natural colours, and generally avoid food colouring or artificial dyes. Something to keep in mind here is that shades make a difference. For example, if you're roasting your carrots, you'll want keep the changing tones of colour in mind so that it complements or contrasts the rest of your dish!
Becoming familiar with the Colour Wheel is a good place to start.
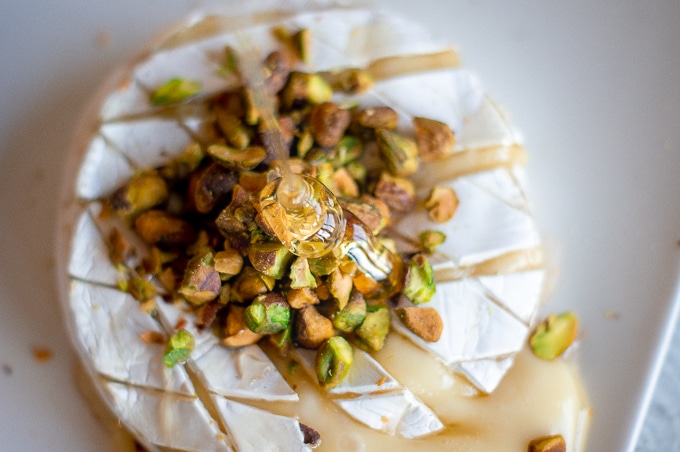
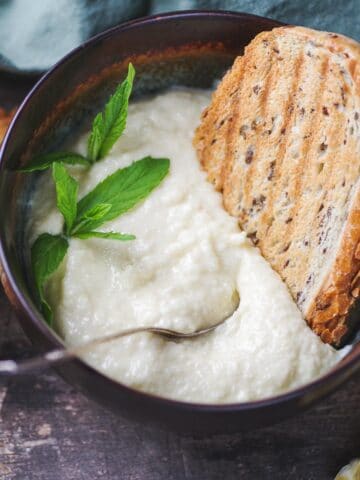
Texture
A great way to make food look more interesting is by creating texture on the plate. The easiest way to do this is with an appropriate garnish - not only does it create a visual appeal, it adds variety to the flavour profile of the dish.
For example, sprinkle some crushed homemade granola on top of your smoothie bowl to add a little visual flair, and that lovely bit of crunch!
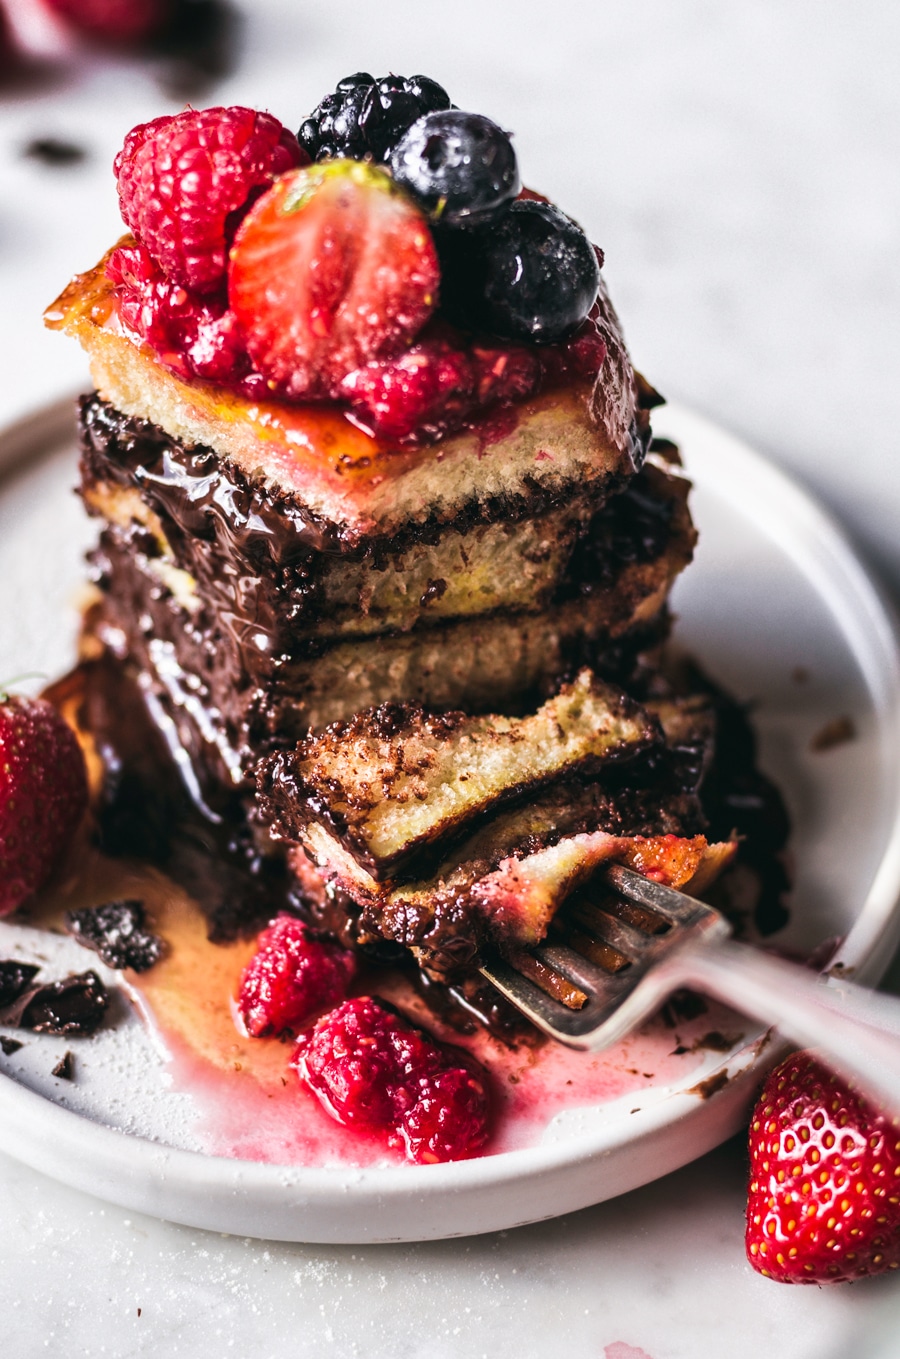
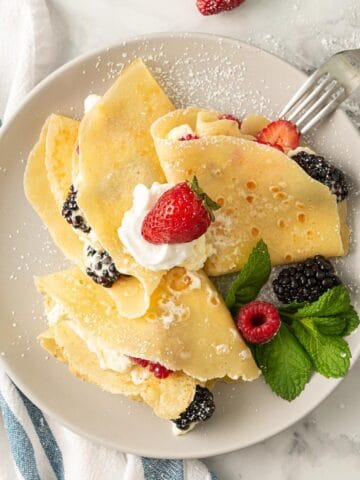
Height
This is an often overlooked aspect: building your food from the bottom up so as to create height on the plate emphasizes the 3-D aspect of the food - so, the pretty plate your guests are looking at, looks like more than just a nice photo of food – it becomes something altogether more inviting.
Choose the right plate
Choosing the right plate can be crucial - not only does the colour of the plate make a huge difference to the overall feel of your meal, but the size of the plate determines whether your food has enough space around it.
I know what you're thinking. Why would I want space around my food? I want it to be the larger-than-life centre of attention.
And you're right. The food should be the star! But a star needs a supporting cast, and that's where your plate comes in. Too much space, and your food looks scarce and unimpressive. Too little space, and your meal looks messy and crowded - think about the importance of negative space in art; plating and styling food is more art than science, so the same concepts apply!
Have the right tools handy
The link below is an affiliate link. This means that if you choose to purchase using it, I will receive a small commission (at no additional cost to you). These small commissions help keep Chocolates & Chai going. Thank you.
What tool you need will depend on what style of plating you're looking to accomplish. I try to create a "home-feel", so I rarely need anything more than a piping kit or decorating brush.
Here are a few things you may want to consider:
- Decorating brushes, can be used to create detailed work with sauces, as well as broad strokes (get it, get it?) on plates.
- Plating and precision tongs to make sure everything is placed just right.
- Molds are something I almost never use. I like asymmetry and imperfection, but if you don't, molds are for you - especially if you want perfectly round pancakes.
- Squeeze bottles are an excellent starting point if you plate a lot of sauces.
Garnishing Kits that include a lot of the above are available too if you'd like to get into food styling, but aren't sure which direction you'd like to go.
How to style your food like a pro
Styling food like a fancy gourmet chef will take time and practice. It's honestly something that's beyond my skills. But I'm going to give you one simple tip that will elevate all your home plating - wipe off the rim of your plate using a clean cloth. It sounds too easy, but it's a basic step that many people forget to take. Wiping off any unintentional bits of splatter or mess immediately elevates any plating you do.
Here’s a video from Chef Mike Ward, walking you through an exercise to help improve your plating:
If you're looking for a few more advanced ideas, this article from Bon Appetit is an interesting place to start.
How to make your food photos look great
Here's something that a lot of people aren't aware of: Food styling, and food photography, and food styling for food photography are three entirely different things. You can plate your food beautifully for the dinner table (i.e. food styling/plating), but that may not translate into a beautiful photo (i.e. food photography). They're two different art forms.
And then there's commercial/professional food styling, by which I mean styling food specifically (and really, only) for food photography. This is the type of styling that's typically done during advertising shoots.
More often that not, it renders the food inedible (think: using shaving foam as whipped cream, or making a burger look juicier by painting over it with varnish, and by propping up its insides with toothpicks).
I used to see this a lot when I worked with a multinational food and beverage brand - it's quite the operation, believe me! Needless to say, this is beyond the scope of this post.
Food photography knowledge mostly comes into play once you already know how you're plating your food, and good photography can only help so much if the food itself doesn't look good. Here are a few tips to help your food photos look just that little bit more insta-worthy.
(I don't really like the word insta-worthy, or the implications that photos need to be worthy of Instagram…but it seemed like the most concise way to phrase things.)

Understand your lighting
If you're new to food photography, you'll want to use natural light. I know you have a beautiful ceiling light, or a super trendy desk lamp, but trust me…you don't want to use them here. Artificial light (unless you know how to use it) is just too harsh. It's also usually too yellow.
Find a nice bright spot near a window. But avoid direct sunlight (it creates harsh shadows on your food); a slightly overcast day is often perfect for most people, including myself - 75% of the photos you see here on Chocolates & Chai are taken under these similar conditions.
Pick a shot
If you're looking to show off one thing, you may want to get up close to it and take a drool-inducing hero shot at eye level. However, if you're taking a photo of a spread, then get onto a stool and take a photo from directly above the food (but not at an awkward angle above it).
Think about how you naturally look at food. You want to replicate and enhance that view in any photos you take.
Basic Editing
Perfect conditions are a rare occurrence, so its handy to be able to make some basic corrections to your photos. I use Adobe Lightroom to edit my photos but honestly speaking, most free photo editing apps will serve you fine when it comes to basic colour correction and lighting edits.
Have a steady hand
Hold that camera steady, bestie. Like, really, really steady. While modern cameras (even the ones on our phones) have some degree of automatic image stabilisation to account for shaky hands, holding the camera steady results in a clearer, sharper image.
…assuming the object your shooting is also steady. But food doesn't run away often. So, we should be good there.
Clean your lens
If you're reading this, the chances are you take photos using your phone. That's totally fine (I still take a lot of photos using my phone too!). But just be aware that we keep our phones in our pockets most of the time so a quick wipe can do wonders for your camera lens.
And that's it. You know just about everything you need to know to get started with your own food styling journey (and even some basics to make sure you do yourself justice when capturing your food styling successes!).
Any questions? Any problems? Let me know in the comments below. And heck, if you style your food and want me to see it, just tag me on Instagram (@yamisohungry).


Marieke
Your photography is gorgeous and this is so, so helpful! I look cooking, but plating and making my food look good isn’t my strongest skill. Thanks so much for this!!
Riz
Thanks for the lovely comment, Marieke! Honestly, I think making the food look good is the last thing most of us are thinking about when we cook at home. But a few small changes can easily make our recipes look much better. I’m so glad you found this helpful 🙂
Shelby
COLOR! This is still something I’m working on, making them all kind of work together. Wonderful tips!
Riz
Yes!!! Colour is SOOO important, and honestly, it’s something I’m still actively working on. I still have trouble knowing which shade of colour perfectly contrasts or complements any other colour. But we aim to learn just a little more each day, right?
Erin
What a wonderful in-depth how-to way to make every dinner wow your guests. The lighting tips are great for making sure I have perfect IG photos too.
Riz
Hey Erin! Thanks so much for commenting! I’m happy to hear you find the lighting tips helpful!
Sara
What a wonderful reference for food styling and photography! There are so many components that go into making a dish beautiful, it’s funny how long it can take to get to a point of confidence for food styling. This post is super helpful and a great starting point for those who are looking to make their food presentations even more beautiful!
Riz
Hey Sara! Thank you so much for your lovely comment! I agree, getting to a point of confidence can take a while (I honestly delayed writing this post for a while because I wasn’t sure if I was ready to speak about it myself!). I’m so glad you find it helpful!
Riz
Katerina | Once a Foodie
Gorgeous photography, Riz! I totally agree that creating a sense of height is so important in food photography – there is nothing worse than the beautiful food you’ve made looking flat and boring, Loving all these tips, thanks so much for sharing!
Riz
Hey Katerina, thanks for chiming in! Thanks so much for your kind words…and yes, height…it’s such an easy thing to fix but it can make such a difference to the way a dish ends up looking!