
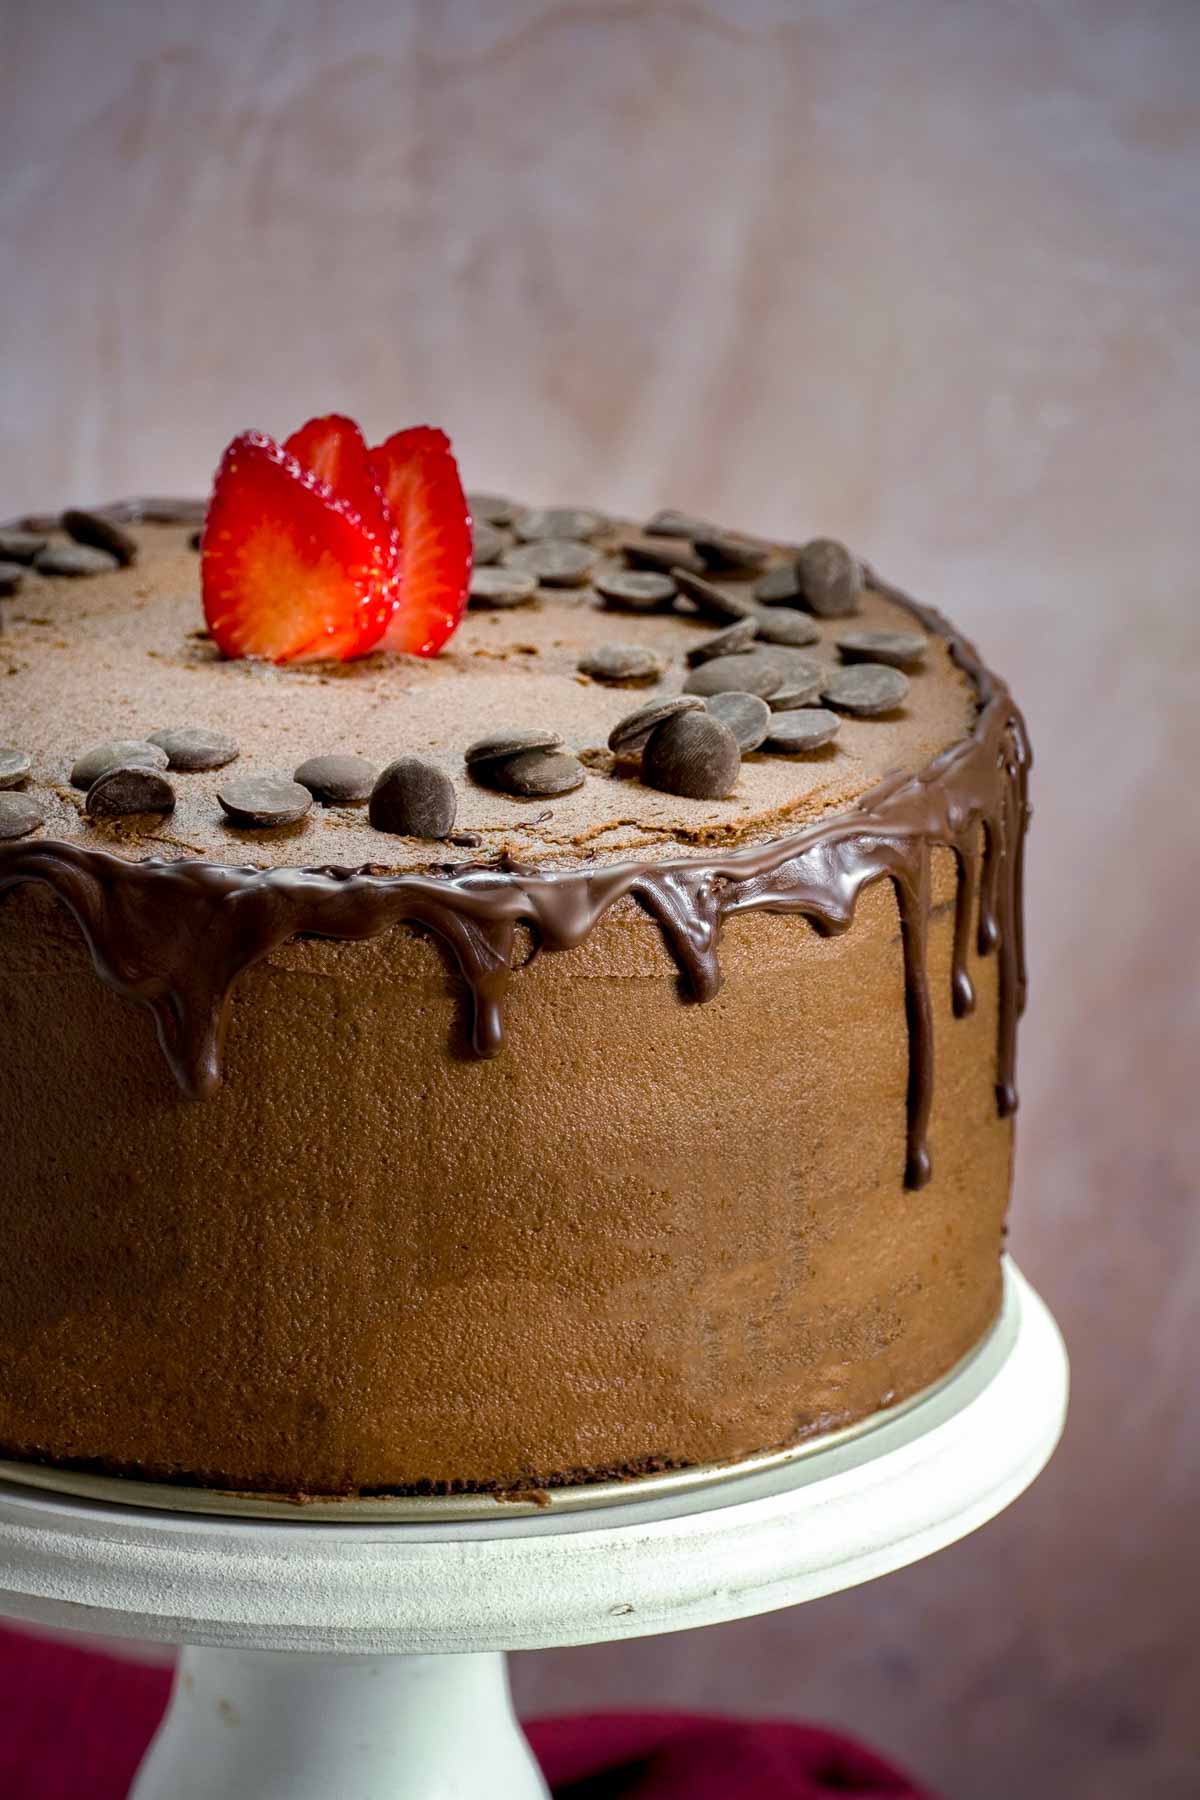
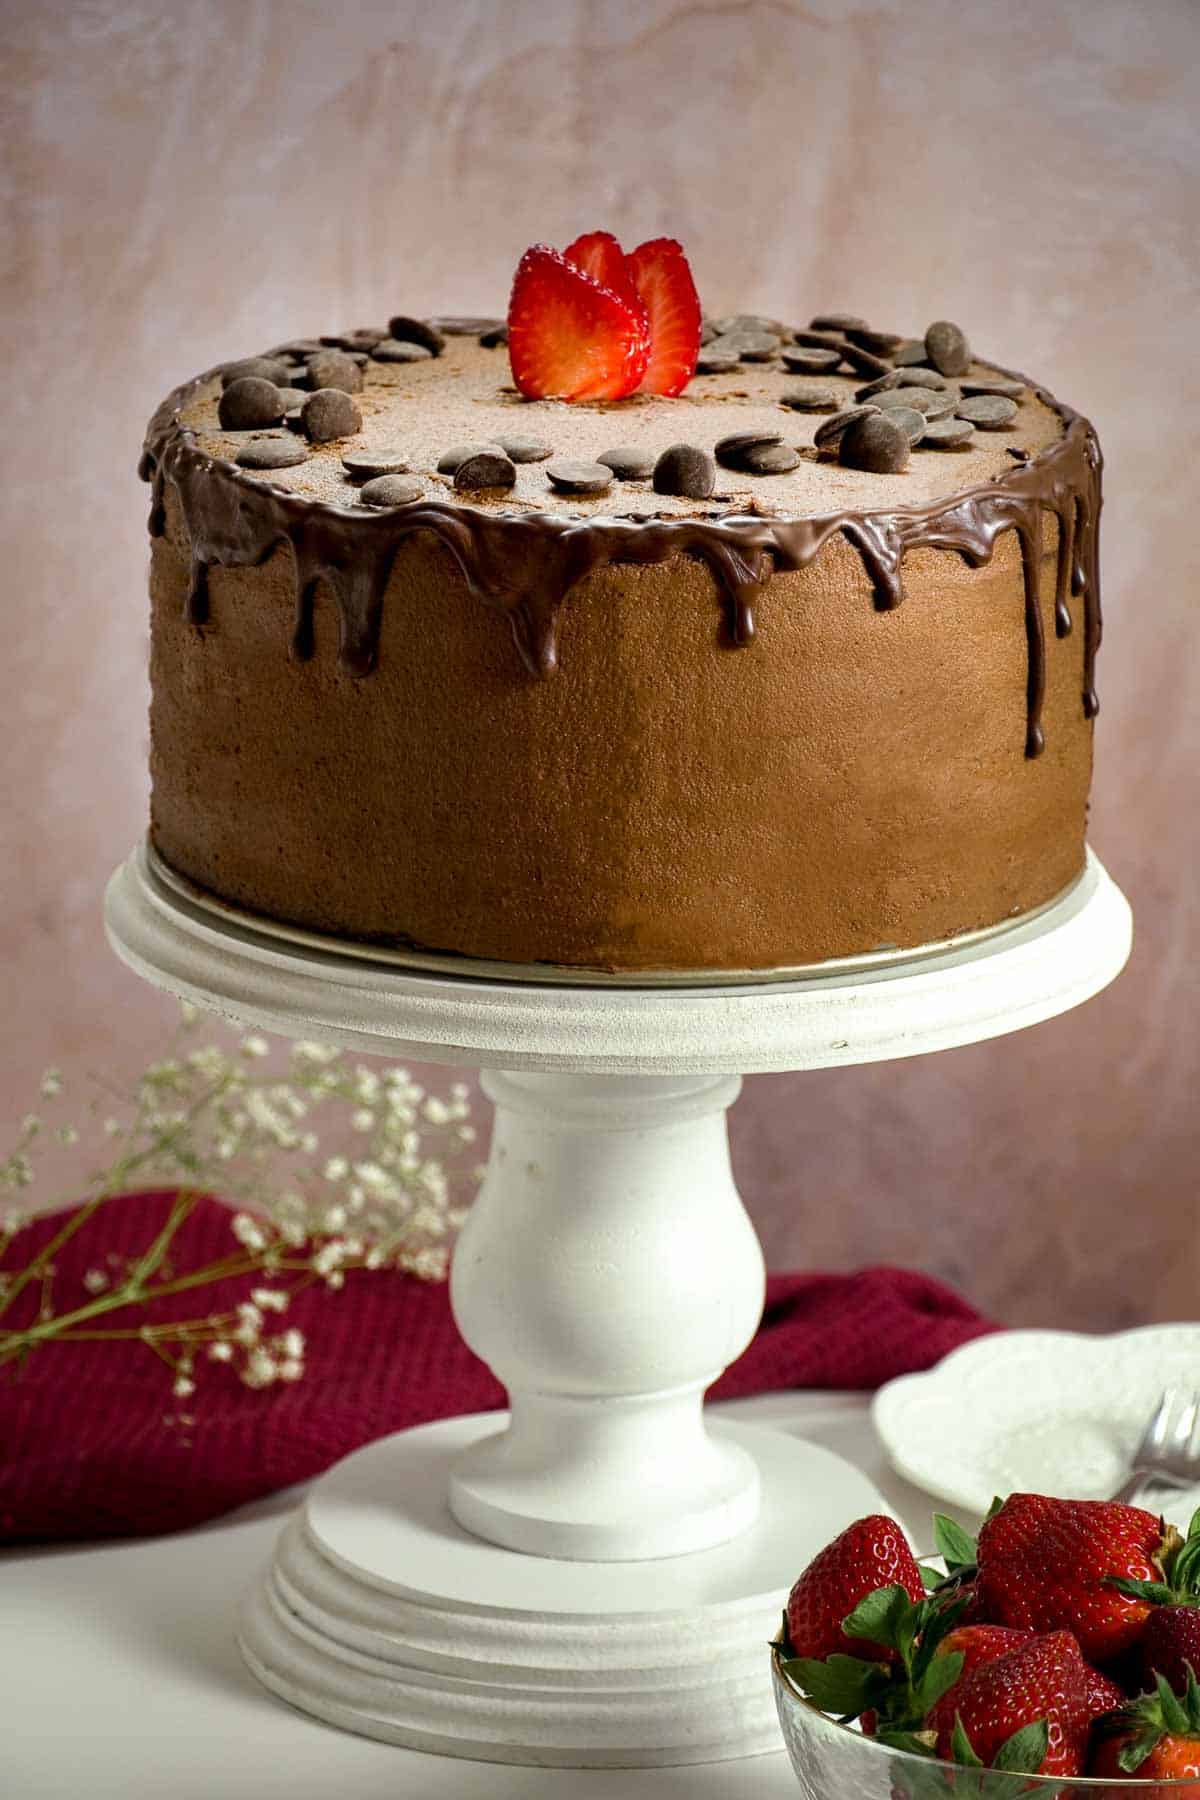
Chocolate Blackout Cake is sinfully good. It starts with a decadent chocolate cake, covered in chocolate frosting and topped with chocolate chips…only to have a dark chocolate ganache drizzled over the top! Be still my heart.
This chocolate blackout cake is pure indulgence! It’s like a classic chocolate cake recipe on steroids. If you’re a hardcore chocoholic (like me), then chocolate blackout cake is definitely for you.
I remember my first attempt at this. It was…an abomination. It was long before I knew that it was informally known as a Chocolate Blackout Cake (or, I guess Blackout Chocolate Cake to some). I was still at university and just learning the basics of making a cake, but boy, did I make a mess of it!
I promise you, this is nothing like that version. Except for you, you know, it being a chocolate cake with lots of extra chocolate.

Jump to:
What is Chocolate Blackout Cake
According to people on the internet, the term “chocolate blackout cake” (or sometimes “blackout chocolate cake”) is a play on the Brooklyn Blackout Cake. As the story goes, this cake was first made by Ebinger’s Bakery in Brooklyn, New York, and gets it name from blackout drills of World War II.
Personally, I thought it was called a Blackout Cake because the cake is completely covered in chocolate, and made using dark cocoa powder for that extra rich look…and taste! Which origin is correct? We’ll probably never know.
It’s also actually more likely that there are two cakes with the same name as the cake from Ebinger’s Bakery was made with a chocolate pudding filling while other versions, like this one, use a more standard chocolate frosting.
This version of the chocolate cake is a little different to some others in that there’s more chocolate – yes, there’s chocolate frosting between each cake layer, and chocolate chips on top of the cake too, but we’re upping the ante by drizzling on some dark chocolate.
Ingredients
For the chocolate cake
- Pastry flour (all-purpose flour will work fine, but pastry/cake flour is preferred)
- Sugar
- Unsweetened cocoa powder
- Instant espresso powder
- Bakingsoda
- Baking powder
- Sea salt
- Eggs
- Plain Greek yogurt
- Water
- Vegetable oil
- Pure vanilla extract
For the frosting
- Unsalted butter, softened
- Cream cheese, softened
- Unsweetened cocoa powder
- Pure vanilla extract
- Salt
- Powdered sugar
- Whipping cream
For the topping
- Milk chocolate chips
- Dark chocolate
How to make Chocolate Blackout Cake
To make the chocolate cake
Start by preheating your oven to 350 degrees F, and buttering three 9-inch round cake pans.
In a large bowl, whisk the flour, sugar, cocoa powder, espresso, baking soda, baking powder, and salt together. Then add the eggs, Greek yogurt, water, vanilla extract, and vegetable oil. Whisk until just combined to form the chocolate cake batter.
Evenly divide the batter between the three prepared pans. Bake for 35 minutes, or until a toothpick inserted into the centre of the cake comes out almost clean. Set your (for the moment, technically) three cakes aside to cool.
To make the cream cheese chocolate frosting
This is easy peasy, and only a single step. In a large clean bowl, whisk all the frosting ingredients together until smooth.
How to assemble Chocolate Blackout Cake
This is the stage where everything comes together. Stack the three cakes, spreading a generous amount of the frosting between each layer. Once stacked (make sure the stack isn’t crooked or going to fall over!), frost the sides of the cake, as well as the top, with a light amount of frosting – this is your crumb coat.
Once done with the crumb coating, you can refrost or decorate the outside of the cake again if you want to, or just leave it as is. Sprinkle chocolate chips all over the top of the frosted cake.
Using a Bain Marie (or double boiler/water bath), melt the chopped dark chocolate. Drizzle the melted chocolate over your cake. Enjoy!
Tips
Chocolate blackout cakes sound fancy, and are made up of a few different components, but once you break it down, they’re fairly uncomplicated recipes.
What kind of cocoa powder to use
Different chocolate cake recipes use different types of cocoa powder. This recipe uses standard unsweetened cocoa powder, however if you want a much richer chocolate flavor, you can opt for Dutch-processed cocoa powder. The one variation to avoid is hot chocolate mixes, which are something marketed as a “cocoa powder mix” (or some such variation).
Room temperature ingredients
This is generally a standard for most recipes, but unless otherwise stated, your ingredients should be room temperature. Cold butter, milk, and eggs can cause havoc to your baking process! If you need to, make sure to plan ahead and allow your ingredients time to thaw (in case you keep butter in the freezer, like I do!) or come to room temperature.
Sift your dry ingredients
This is an extra step that most people don’t take. It’s not crucial to making delicious cake, but sifting your dry ingredients (flour, cocoa powder) will result in a slightly airy cake, as well ensuring that there are no unmixed clumps waiting to be discovered!
Melting chocolate quickly
If you’re very confident, you can place your chopped chocolate into a microwave-safe bowl, and warm for 30 seconds intervals to melt your chocolate. I generally don’t recommend you do this unless you are already confident doing so (it’s easy to burn your chocolate).
If you like what I’m doing here, and you want to help, why not go ahead and become a Patron? You can support Chocolates & Chai for as little as the price of a cup of coffee!
Variation ideas
The easiest variation to this cake is change the toppings. Instead of chocolate chips you can use sprinkles, or make extra frosting and opt for a frosting heavy top that’s complemented with some fresh fruit (I would opt for raspberries. Because I love raspberries.).
If you want to get a little more involved with your variations (and all of these suggestions may require tweaking ingredient amounts), you can look at swapping out the water in the cake for whole milk, or stir in a little cornstarch into the flour mixture for a denser result.
Storage
This blackout chocolate cake can be frozen and stored for up to one month in the freezer. Personally, I don’t do this as I feel cakes never really thaw perfectly.
I recommend refrigerating in an airtight container for up to one week. The cake can be left out at room temperature but will likely begin to go stale within a day or two (standard for most cakes!).
More cake recipes
If you enjoyed this, here are a few other cake recipes you should check out:
- Lemon Curd Cake with White Chocolate Swiss Buttercream
- Two-Layer Chocolate Cake with Whipped Cocoa Buttercream
- Basque Cheesecake Recipe
Helpful tools
The link below is an affiliate link. This means that if you choose to purchase using it, I will receive a small commission (at no additional cost to you). These small commissions help keep Chocolates & Chai going. Thank you.
When it comes to making cake, a stand mixer is a great help. However, stand mixers are expensive and take up a lot of kitchen space. A handheld electric mixer is a smaller, cheaper alternative that can still help with a lot of your mixing needs.
And that’s it for today. That’s everything you need to know to make chocolate blackout cake. What did you think? Will you be making this chocolate cake recipe at home? Let me know in the comments below.
📖 Recipe

Chocolate Blackout Cake
- Total Time: 1 hour 20 minutes
- Yield: 8 big slices 1x
Description
Learn how to make this Chocolate blackout cake – decadent chocolate cake, covered in chocolate chips, and topped with a dark chocolate drizzle.
Ingredients
For the chocolate cake
- 3 cups flour
- 3 cups sugar
- 1 ½ cup unsweetened cocoa powder
- 1 tablespoon instant espresso powder
- 1 tablespoon baking soda
- 1 ½ teaspoons baking powder
- 1 ½ teaspoons sea salt
- 4 large eggs
- 1 ½ cups plain Greek yogurt
- 2 cups water
- ½ cup vegetable oil
- 1 tablespoon vanilla extract
For the frosting
- 1 ½ cups butter, softened
- 8 ounces cream cheese, softened
- 1 ½ cups unsweetened cocoa powder
- 1 tablespoon pure vanilla extract
- Salt, a pinch
- 7 cups powdered sugar
- ¼ cup whipping cream
For the topping
- 2 cups of milk chocolate chips
- 2 ounces dark chocolate, chopped
Instructions
To make the cake
- Preheat the oven to 350 degrees F. Grease three 9-inch cake pans.
- In a large bowl, whisk the flour, sugar, cocoa powder, espresso, baking soda, baking powder, and salt together. Add the eggs, yogurt, water, vanilla extract, and vegetable oil. Whisk until just combined to form the chocolate cake batter.
- Evenly divide the batter between the three prepared cake pans. Bake for 35 minutes, or until a toothpick inserted into the centre of the cake comes out almost clean. Set aside to cool.
To make the frosting
In a large bowl, whisk all the frosting ingredients together until smooth.
Chocolate Blackout Cake, Assemble!
- Stack the three cakes, spread a generous amount of frosting between each layer. Once stacked, frost the outside and the top of the cake too. Sprinkle chocolate chips all over the top of the frosted cake.
- Melt the chopped dark chocolate using a Bain Marie. Drizzle the melted chocolate over your cake.
- Enjoy! (Ideally in secret, no one else may taste its chocolate-y deliciousness!)
Notes
- This recipe is best-made with three round 9-inch cake pans. To prepare your cake tins, generously butter the bottoms and insides. If you want, you can use measured and cut parchment paper as well.
- If you don't have instant espresso powder, standard instant coffee will work too. Don't have either? You can skip it. The cake will be ever so slightly less rich in its flavor.
- Once made, it's best to keep the cake refrigerated. (It's best served at room temperature though.)
- Prep Time: 45 minutes
- Cook Time: 35 minutes
- Category: Dessert
- Method: Baking
- Cuisine: American


Comments
No Comments